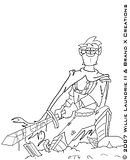
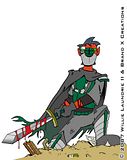
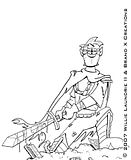
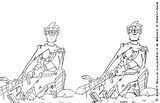
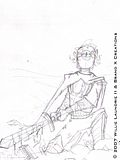
From time to time somebody will ask me how I go through the process of actually FINISHING a pencil sketch with inks and colors, so I thought I'd post an image of each stage of that process. There are plenty of different ways to do this, but this is how I learned and what I continue to do.
This is Stage Two: Partial Inks. I've taken the pencil sketch and inked in the major outlines and details. I've still got some more inking to do, but this is the first pass I normally make. Most cartoonists determine their light source and make thicker lines opposite that source as they go to indicate shadows. I do the same thing, but I usually do it after this initial inking stage. It's more time-consuming, but it's easier for me to keep it all straight. I've tried doing it as I go before and it just results in me swapping pens every three seconds and making a muddy mess at the end.
After the thicker shadow lines I'll add some more texture and detail (but not too much, since I plan to color it after). A plain black & white image would have more texturing done to indicate the different colors; I won't need to do that here.
Click the thumbnail below to cut the art lesson and see a larger view.
